
Background: The definitive method for aesthetic skull augmentation is a custom implant design. Not only is the method of implant design important, but also the material of which the implant is made. Unless the patient wants a long bicoronal scalp incision to place the implant, the implant material must be solid, but flexible. This is why solid silicon is the material of choice for us custom skull implants. It allows the implant shape to be modified to pass through a small scalp, incision and, once inside, reacquires it’s pre-insertion shape. While a silicone implant is flexible this does not mean it is soft and when in place it will feel just like bone.
Despite the flecibility of a preformed custom silicone skull implantas the implant becomes bigger in thickness its foldability diminishes. As a result, different strategies need to be taken in implant design if the scalp incisions are going to remain as small as possible. This introduces the concept of a split implant design or sectioning the implant into multiple pieces during its fabrication. Much like a ship in a bottle the implant is then inserted in pieces and reassembled once inside the subperiosteal scalp pocket on top of the bone. In this way, the length and number of scalp incisions needed for its placement remains limited.
One concept to appreciate in custom skull implants of any size is that the limited length of the scalp incision(s) means that much of the implant placement is partially blind. As one is not operating on a skull model where all aspects of the implant are seen during its placement much of its placement is guided by external palpation. Features can be built into the implant design that can be seen through the open scalp incision to help guide its placement. But placement of any custom skull implant, particularly when it is of considerable size and designed in multiple pieces is a learned skill.
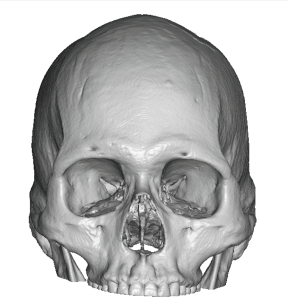
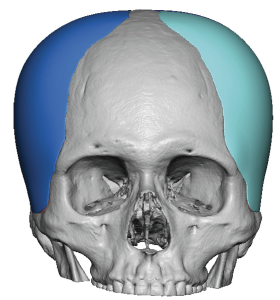
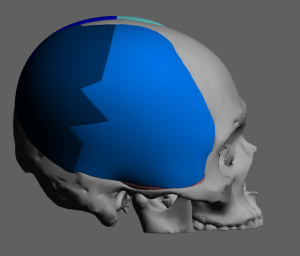
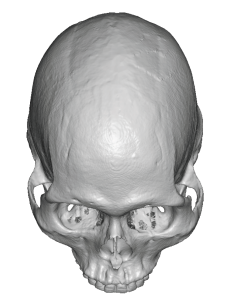 Case Study: This patient desired a substantial head size increase particularly in width. His 3D CT scan showed a narrow head shape, particularly when comparing to the width of his zygomatic arches.m When presenting his own imaging of his desired result it was very evident that this was a large skull augmentation…perhaps a head size increase that may not even be attainable.
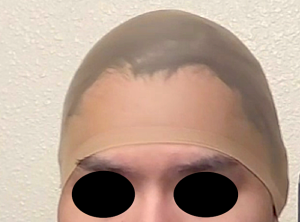
 As a result a 1st stage scalp expansion was done making the expander volume fill match the eventual large skull implant design which was 300ccs.
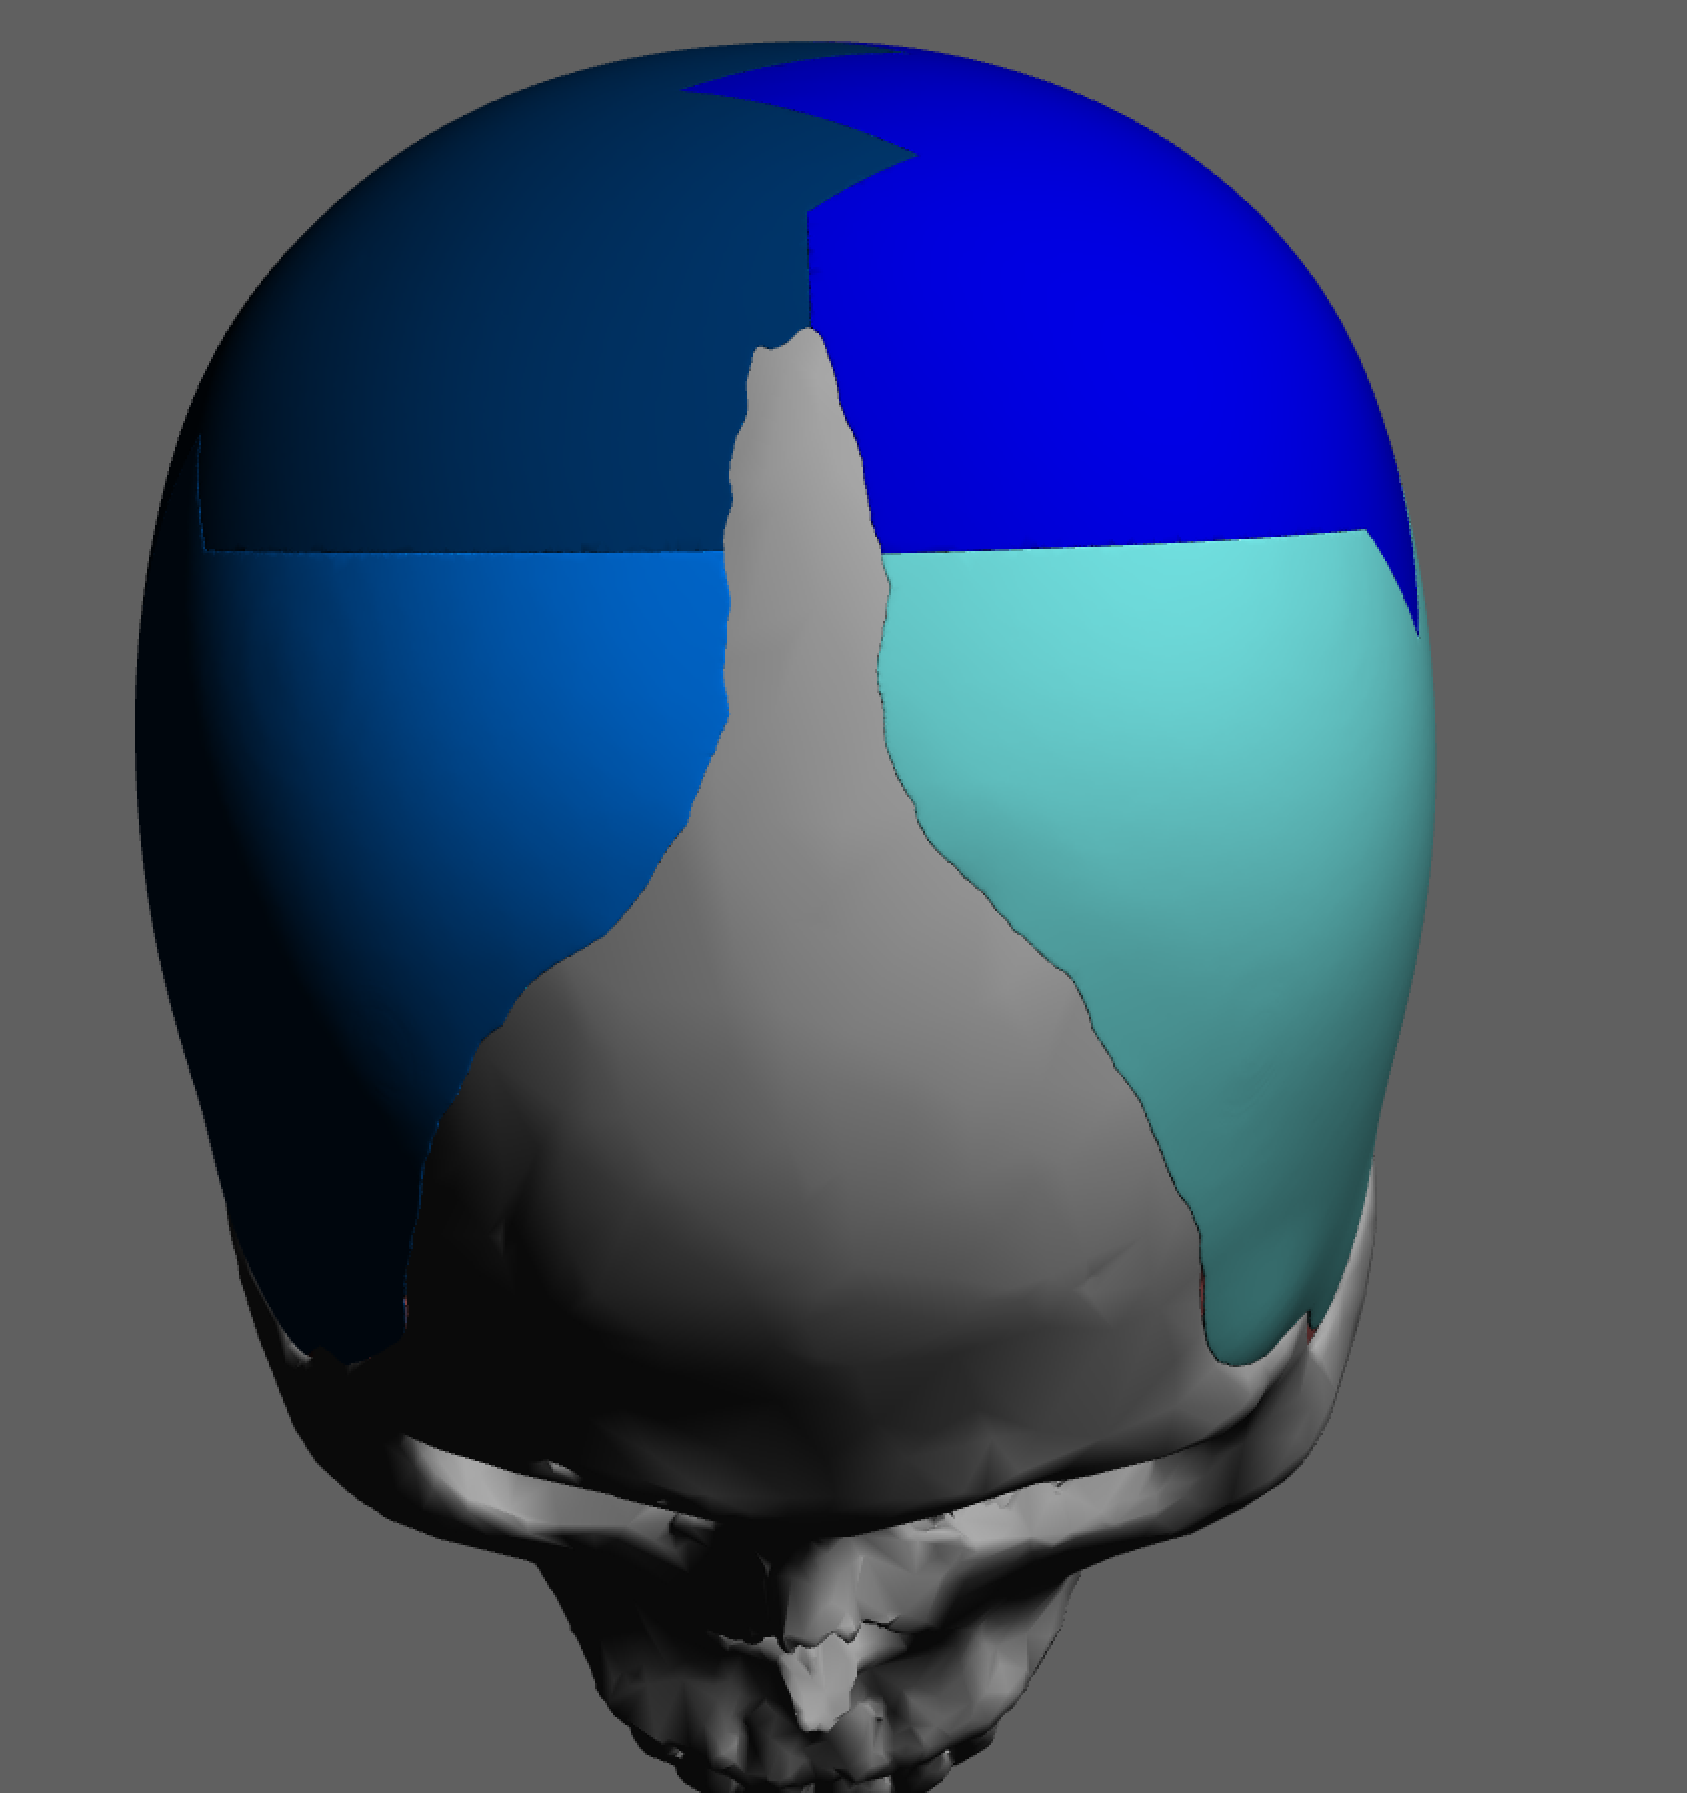
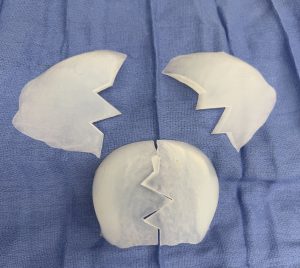 To keep the scalp incisions small the implant was designed in 4 pieces which could be be put together once inside the subperiosteal implant pocket.
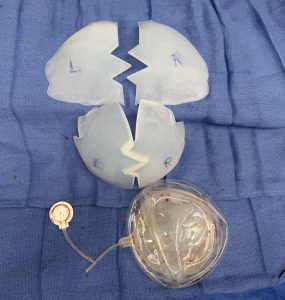 Under general anesthesia in a 2nd stage procedure, four months after the 1st stage, the scalp expander was removed and the formal implant pocket created. The implant’s four pieces were marked so they could be placed and positioned per the implant design.
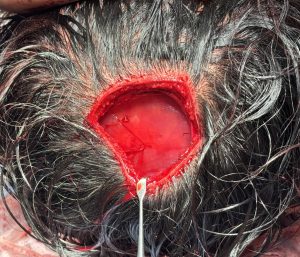
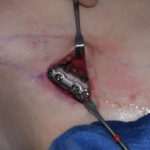
 Using the same initial incision on the back of the head as was used for the scalp tissue expander deep tissue expander was removed and The pocket expanded to accommodate the new implant footprint. Then the four pieces of the custom skull implant passed through the incision and then sequentially put together. This placement was aided by a small anterior sagittal midline scalp incision to see how the front pieces went together in the midline.
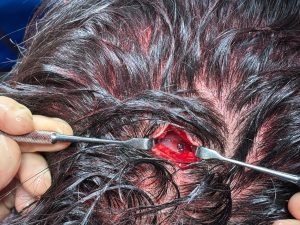
 Both incisions were then closed over the drain on the sides. He went on to heal uneventfully although we had to have the drains for several weeks and small amounts of fluid persisted until it fully resolve several months after the surgery.
Large custom skull implants pose challenges both for the stretch of the scalp tissue needed to accommodate them as well as being able to place them without substantial adverse scalp scarring. The scalp problem can be overcome by the use of a first stage scalp expansion. Limiting the scalp incisions for the implant placement can be overcome by the concept of a multi piece implant which is reassembled once inside the patient. Well this reassembly sounds easy and looks non-problematic in concept it is important to remember that we are not working on a skull model. Getting the pieces back together once inside and a smooth interconnected manner and with the overall implant in proper alignment is challenging as much of that is done blindly and only by external feel.
Key Points:
1) Large skull augmentations require a two stage approach the first being a first stage scalp expansion.
2) The second stage requires a custom skull implant whose size requires a split design to keep the scalp incisions limited.
3) Getting a four piece skull implant through the limited incisions is one challenge, assembling it back together by external palpation only is an even greater challenge.
Dr. Barry Eppley
World-Renowned Plastic Surgeon