Top Articles

 Background: One of the most common augmentations of the skull is on the back of the head. Amongst flat back of the head the crown area is when entire back lacks projection otherwise known as brachycephaly. When the entire back of the head is flat the crown area is often high and the posterior temporal areas is usually wide. When considering implant augmentation of the flat back of the head the desired amount of increase projection is controlled by how much the scalp can be stretched. Well there is no exact formula for calculating how much volume discount can tolerate there are some general guidelines which include ethnicity, thickness of the scalp and skin pigmentation.

In most cases of bilateral augmentation of the flat back of the head the goal of implant projection is directly horizontal keeping it off of the top and sides of the head. But there are cases where the overall head is felt to be smaller and the patient may desire an augmentation that turns the corners onto the top and sides of the head. By doing so this allows the augmentation to go further on to the top of the head for increased overall head size. In most cases of doing so the patient scalp can usually not stretch to accommodate such large surface area involvement. This is an indication were a first stage scalp expansion is necessary. 

In such larger custom school implants besides the consideration of parading enough scout to accommodate it one also has to think about how the implant will be placed through the scalp. To avoid a large coronal ear to ear scalp incision the concept of segmentalizing the implant becomes necessary. The interesting concept about designing an implant to be inserted in multiple pieces is not how they will fit through the small scalp incision but how to put all of the pieces together underneath the scalp a near blinded fashion. Using small scalp incisions very little of the implant is actually seen. The pieces of the implant must fit together largely by using an external feel of the implant pieces through the scalp. This is a learned skill for which there is no precedence in doing so. 
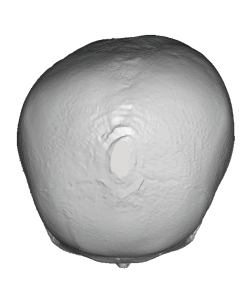
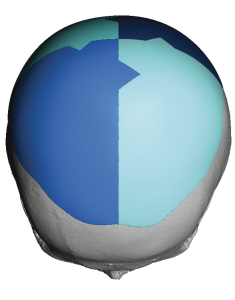
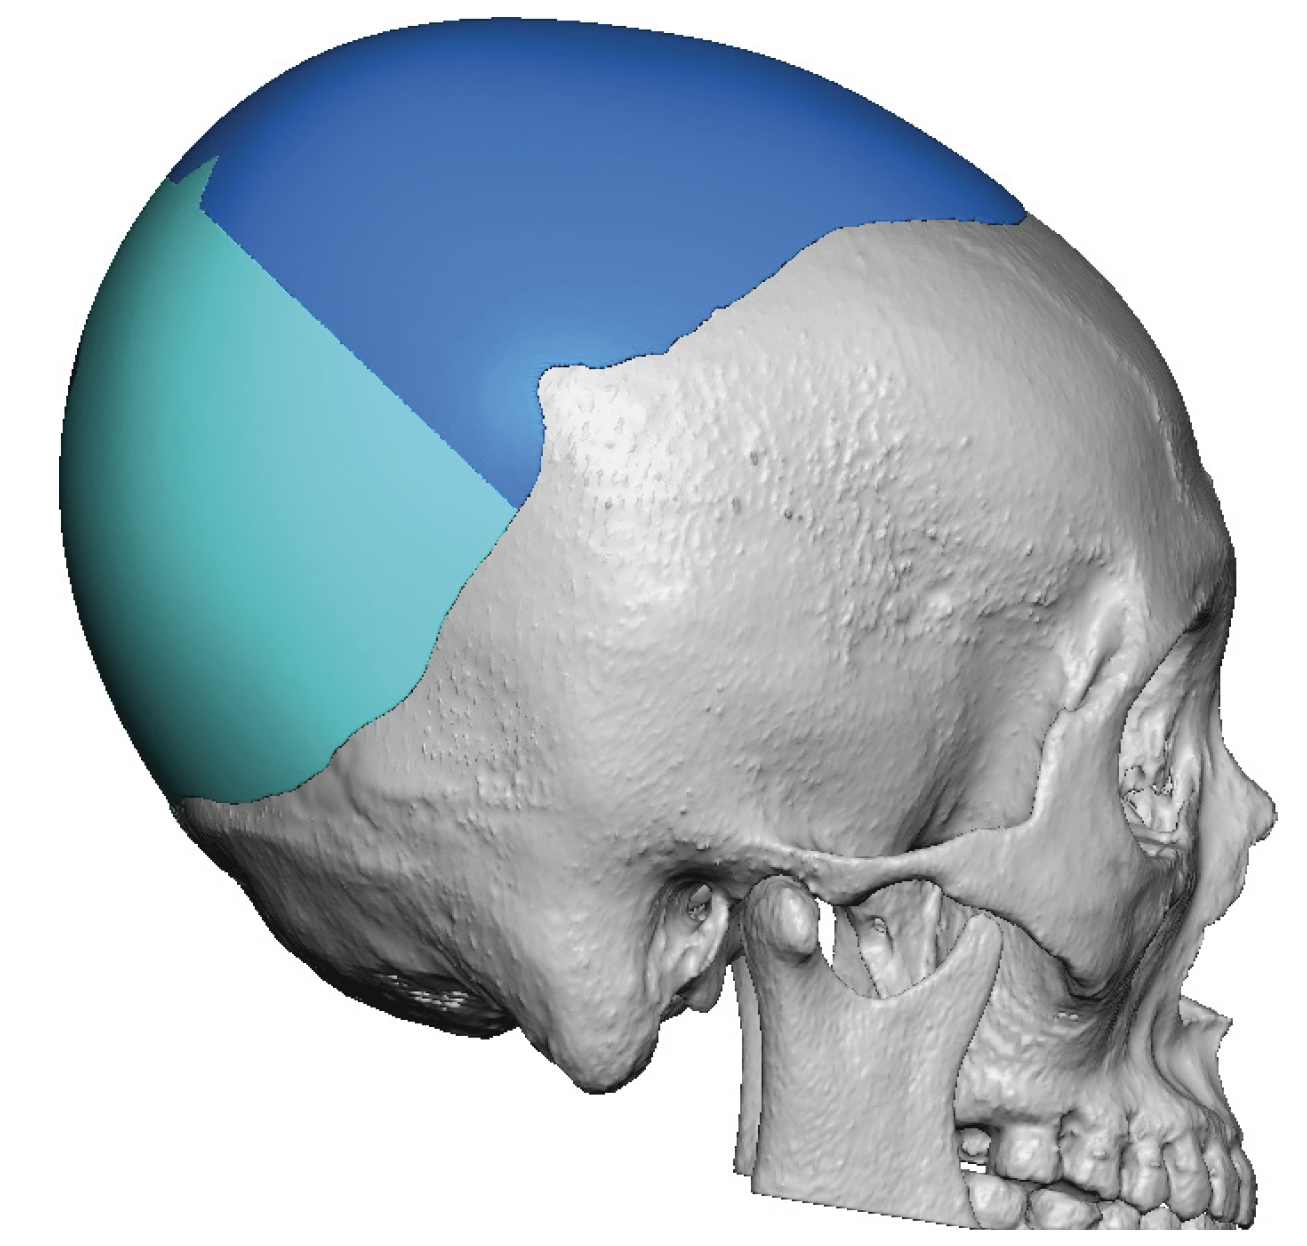
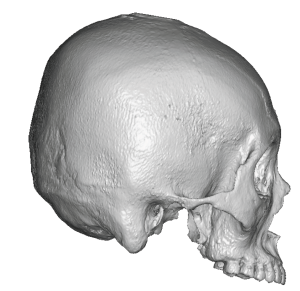
Case Study: This Asian female with a flat back of the head who desire to see him again augmentation that went over and beyond the crown area. There are 3D CT scan shows a typical flat back of the head appearance with noticeable asymmetry. (right flatter than the left) The scan does not show any evidence of a visible top of the head deficiency as this was completely at the patient’s request which is always more important then what any x-ray shows.

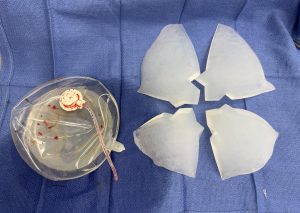
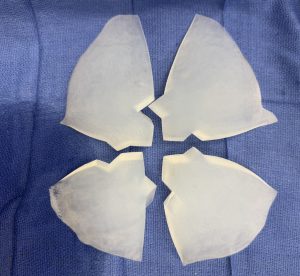
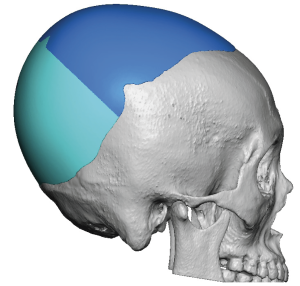
Using her 3-D CT scan a large custom school implant was designed which provided up to 20 mms of posterior projection and went significantly onto the top of her head and extended to just behind her frontal hairline. The total implant volume was 240 ccs. Due to which large size it was necessary to design the implant in four pieces.

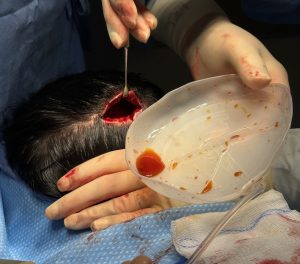
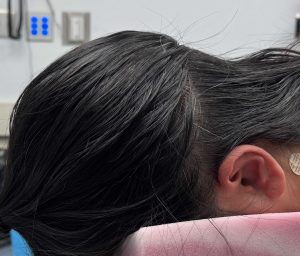
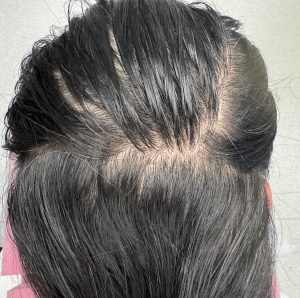
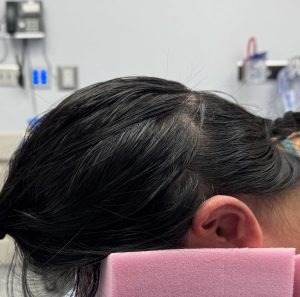
Due to the size of the implant the first stage scalp expansion was necessary. The scalp expander was placed 4 months previously. The patient placed 250 cc of saline into it and was done through a small port located under the skin above the right ear.

At the second stage procedure the scalp tissue expander was removed. The scalp incision had healed so well from the tissue expander placement that it could not even be found. The scalp expander compared to the custom skulll implant could be seen to be smaller in size with more projection. It is not important that the scalp expander has the same footprint as the skull implant. What is important is that it has at least the same amount of volume.

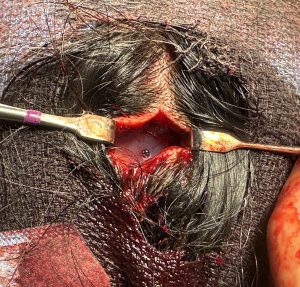
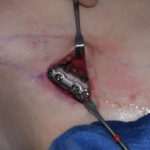
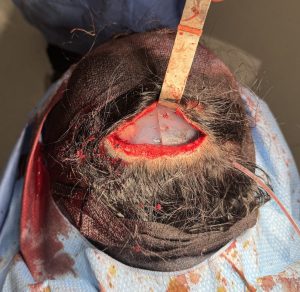
Through a small posterior scalp incision the four piece skull implant was inserted and put together. The two posterior pieces could be seen and were sutured together. To access the two front pieces to make sure that they were laying flat and in good alignment a mall superior scalp incision was made. Once it was assured that the two front pieces were in proper position and fit together two micro screws were applied to fix it to the bone.

The four piece skull implant fit nicely together, a bit like snap[ping together lego block pieces. The scalp incsions were closed over it without undue tension with resorbable sutures over a drain.

Large amounts of skull augmentation can be safely done but must overcome two hurdles, adequate scalp stretch and 2) placement through limited scalp incisions. A scalp expander is a time proven method of creating extra soft tissue. How to limit the incisional size is the new challenge and requires an innovative approach. Segmentalizing and reassembling the pieces once inside the pocket isa effective technique much like building a ship in the bottom with one expection….you can see by direct vision how the pieces are coming together.

Key Points:

1) Large custom skull implants often require a 1st stage scalp expansion for both fit and safety of the hair follicles.

2) The first stage scalp expansion volume should equal or exceed the volume of the designed custom skull implant. 

3) To keep scalp incisions small the large custom skull implant is designed in multiples pieces to be reassembled once inside the implant pocket. (ship in the bottle approach)

Dr. Barry Eppley

World-Renowned Plastic Surgeon

Top Articles